Sunday, 15 June 2014

HOUSE OF GOD

13/6/2014
 
 
Taking part in house of god has been a very exciting and great opportunity. Having that to prepare for as well as the exhibition has really tested my organisation skills making sure that all of my work is kept on top of and is to the highest standard. On the night I was part of serving the refreshments and preparing the textiles space. From the start I feel that I have been a team player but also taking lead when needing to as in group decisions making sure that my ideas were been put across but also making sure that everyone agrees on the end outcome. I feel that I have hugely benefited from this event from simple things from time keeping to display decisions, and this will add to my knowledge when I  begin my University Course in September.


Day 6 - Exhibition Prep

12/6/2014
 
 
Now that I have decided on how both of my boards are going to be lay out, I can finally stick them now permanently. For this i am using double sided sticky buds I think that these will be the best thing to hold my samples up with as they can secure paper and fabric. So that my sample are all straight and level I have marked out using a ruler and pencil where they will be stuck down. I also found that using a strip of masking tape as a guide at the top of my sample was a big help as this meant I was able easily tell if they were all in line or not. Overall I think that my exhibition preparation has been very successful as has also educated me within display and layout techniques.


Day 5 - Exhibition Prep

11/6/2014


Today I have concentrated on my hanging samples, for this I have used fishing wire and a thin curtain pole. I have connected them to the curtain pole by thread my wire through a pin whole and then tying it around the pole. Starting off I used random length of wire for all my different samples, after putting them up against my boards I found that they were to high up and needed to be longer. This meant I had to untie all of the wire and add on so that they blended in with the rest of my exhibition. I think that they have connected my exhibition together adding detail and subtlety to my work. 


Day 4 - Exhibiton Prep

9/6/2014
 
Adding my embroidery samples to my digital board meant that I had to reorganise my digital prints, so that they all coordinated with each other. I have also decided to take one of my embroidery samples to the church exhibition as it shows development through methods and technique. I have also begun the display of my hanging samples. I will be suspending them from fishing wire as this is invisible
creating a light and soft feel towards my exhibition.


Day 3 - Exhibition Prep

 
5/6/2014
 
Over the last two days I have been creating the layout for my sample and digital boards. I have also been trying to find the most effective way to incorporate my embroidery samples into this as I want to show the develop meant, but I don't want them to get lost on the boards. At the beginning I was including them within my sample board, although I found that they got lost within with all the other samples and you could not clearly see the embroidery technique within them. After trying different layouts I found that adding them onto my digital board portrayed development within techniques and brought out the textures and detail within these samples.


Day 2 - Exhibition Prep

4/6/2014
 
After feeling confident with the different layouts of my digital print board, I decided to go back to my sample board and experiment with different layouts. After coming to the decision of cutting my largest sample into strips, I concluded that this was making my other sample look too separate from each other. Throughout the day I have created different layouts, I found that mixing them up all together created a more successful outcome rather than grouping them into separate areas on the board. Although I did think that this showed a more clear view of development through sampling I think that when they are all grouped together they look more effective. Tomorrow I will be concentrating on my embroidery samples.


Day 1 - Exhibition Prep


2/6/2014
 
I began by painting my boards and touching up any dirty marks on them. After this I started laying out my samples so that i could get an idea of the placement and layout that they would work best in. This task was not being as successful as I thought it would of been, I couldn't find the right layout so I decided to put this aside and concentrate on my digital board layout. I began by laying my A1 prints and also my A4 print out creating a number of layout, this was working well as I thought because of the colours and the size difference within the prints complimented each other. After the first day of my exhibition prep I felt confident and productive, even though I my sample board was not coming together  I felt that this has benefited my display skills making me a wear of shaping and the different sizes that don't compliment each other.


Furniture

22/5/2014
 
Within my exhibition I wanted to display my prints in a various of different displays. I have choose to display my prints on to furniture as I think it is effective and is showing how my prints can be adapted to fit within the interior industry. Using a different print from my pillow and lamp, I have done this because I think that both prints will compliment each other and also the furniture print is a smaller print which will be more effective on the draws.
 
Step 1 - First of all  I had to sand the draws down using an electric sander and also sand paper for the legs and corners.
 
Step 2  - After this I have dismantled the door and draw, and painted a base coat on the draws so that the furniture paint takes better as there was a lot of gloss originally onto the draws.
 
Step 3 - After the base coat has dried I have then used a gloss white furniture paint as my top coat. Overall I had to do about 3 coats of paint so that the finish was to a high quality.
 
Step 4 - After it was all painted, I then concentrated on putting my print onto it. measuring the correct measurements of the front of the draws, I cut of my print.
 
Step 5 - I used wallpaper paste to secure my print onto my draws, applying the paste to doors and not the print made it easier to apply the print, I was also able to move my print about until it was in the exact correct place as the paste is a slow drying material.  
 
Step 6 -  I left my prints to dry overnight, I then refitted my door and draw back on. Using a kebab stick to recreate the holes for the screws so that the hole does not form to big and course ripping.
 
Step 7 - After you have added all of the handles back on it is all finished.  


Lamp Shade

       21/5/2014
 
 I have chose to create a lampshade as I think that it compliments my other household interiors and it also portrays my design in another few. Overall this has been successful and I am pleased with the finial outcome. At the beginning I imagined using a old fashioned lampshade but after seeing my final print, I though that my prints would look more effective within a contemporary style display.

Step 1 - I have painted the base of the lamp from a fuchsia to white, I choose do this because I felt that the fuchsia against the rest of my work looked to tacky, the white brings a clean and fresh feel to my exhibition.

Step 2 - After the paint has dried, I have detached the shade from the base, and use wallpaper to create my pattern. I have done this by rolling the lamp across the paper and marking it with a pencil.

Step 3 - I have then added an extra inch on so that the material can wrap around the top a secure tightly.

Step 4- When this is done you can then cut it out and trace it onto your fabric, then you need to cut the fabric out neatly.

Step 5 - Using spray mount I have sprayed the shade, spraying the shade and not the fabric will make it more steady to attach your fabric. I have used the spray mount safely outside so that none of the fumes are effecting anyone else.

Step 6 - I have then lined my lamp and fabric up, I then rolled the shade on to the fabric, folding one edge over to create a seam that will leave a nice tidy finish.

Step 7 - the last few touches I did was making your that all my edges around the top were securely stuck down you might need to use a little extra spray mount.

Wednesday, 4 June 2014

Creating my Cushion

19/5/2014
 
Using my printed fabric I am going to create a pillow and lampshade. I have choose to create these house hold item as it portrays my print in a interior setting and that is how I will be displaying my exhibition. Overall my cushion has been very successful, I have used a zip fastening, this demonstrates technique and quality within the making of the cushion.
 
Step 1 - Measure your fabric to fit your cushion leaving 1'' extra for the hem.
 
Step 2- Pin the zip to the edge of your material, then sew along the zip edge with a zipper foot.
 
Step 3 - Sew the ends of the zip up.
 
Step 4 - Open your zip and pin and turn your fabric so that the correct sides are facing each other
 
Step 5 - Pin the edges of your fabric all the way round
 
Step 6 - Sew all the way round of the cushion leaving 1'' hem
 
Step 7 - Turn your cushion the correct way poking all the corners out carefully
 
Step 8 - Iron your Cushion cover
 
Step 9 - Carefully put your cushion through your zip hole
 
Step 10 - Zip your cushion up and your complete


Exhibition Layout

15/5/2014
 
After researching past exhibitions and degree shows, I have been inspired and educated about layout and how to present my work in the correct way. From how to layout my prints to the placement of my furniture. I think that this has been very successful research and my finial sketch idea for my exhibition  has shown this.

Thursday, 29 May 2014

Needle Weaving

14/5/2014
 
Experimenting and developing my embroidery techniques further. I have looked into needle weaving, the method of working is suggested within the name. I have use this technique within conjunction with the French knot because I think that they work well together both having a raised surface and also both being a circler shape. This also compliments the sampling of the berries as they are all circler shaping. When creating this technique I have weaved the needle and thread through each other to create a spider web circler shape. I have experimented with using two different coloured threads because i wanted to show development throughout my sampling and techniques. This method has been successful and i will continue to develop it and use it within my samples.

French Knots

12/5/2014

French Knots are another part of the embroidery techniques that I have shown throughout this project. I have used this technique within my samples to create a raised textured effect, this technique also brings the colour through to my samples., I think that overall they are a successful technique and outcome of my project. When creating my embroidery samples I have embellished my samples with  the French Knot because of it rosebud like stitch linking in with my floral theme. I also like the dainty simple finish that they leave on your material. I am developing this technique by using different thread thicknesses and textures of thread. I will also be using different techniques on my samples that will compliment that French knot adding more textures and depth to my samples. 

Thursday, 22 May 2014

Even More Digital Prints

8/5/2014
 
I have carried one developing samples into digital prints, using different techniques and methods such as photo shop and Kaleido Lens. Some of these samples have been unsuccessful because of the colours not being bright enough and when I have tried to develop them into Photoshop and using the brightness tool makes it brighter but looses the detail of the print. If I was to enlarge this I think that the detail would be lost even more and it would look successful enough to display on my final show.

More Digital Prints

7/5/2014
 
After developing more samples I have created more digital prints. Using my Kaleido Lens app. The majority of these prints have been successful and have ended up being used as my finial A1 prints. I think that these print have been more successful because my samples show more development and techniques. Such as colour combinations, editing methods and use of materials.

Free Hand Embroidery

5/5/2014
 
 Free hand embroidery has been technique that I have felt confident with and have used to create a surface and texture on my embroidery samples. Here I have embroidered around the print from the berries. I think that this has been very successful and adds a subtle but effective touch to my work, showing development and progress through different techniques and methods. When creating this I used the free hand embroidery foot and had to sew really slow that I didn't puncher the paper to hard because I found that  sewing to fast caused the paper to rip. While completing this sample I was originally leaving cotton threads on so that they hung down, but after seeing this I didn't like it as I thought it too away from the detail on the sample of the stitch and also from the print of the berry. If I was to improve this print I would add other pieces from other samples to create a build up of materials and textures.

Monday, 12 May 2014

Sampling Development

1/5/2014
 
 
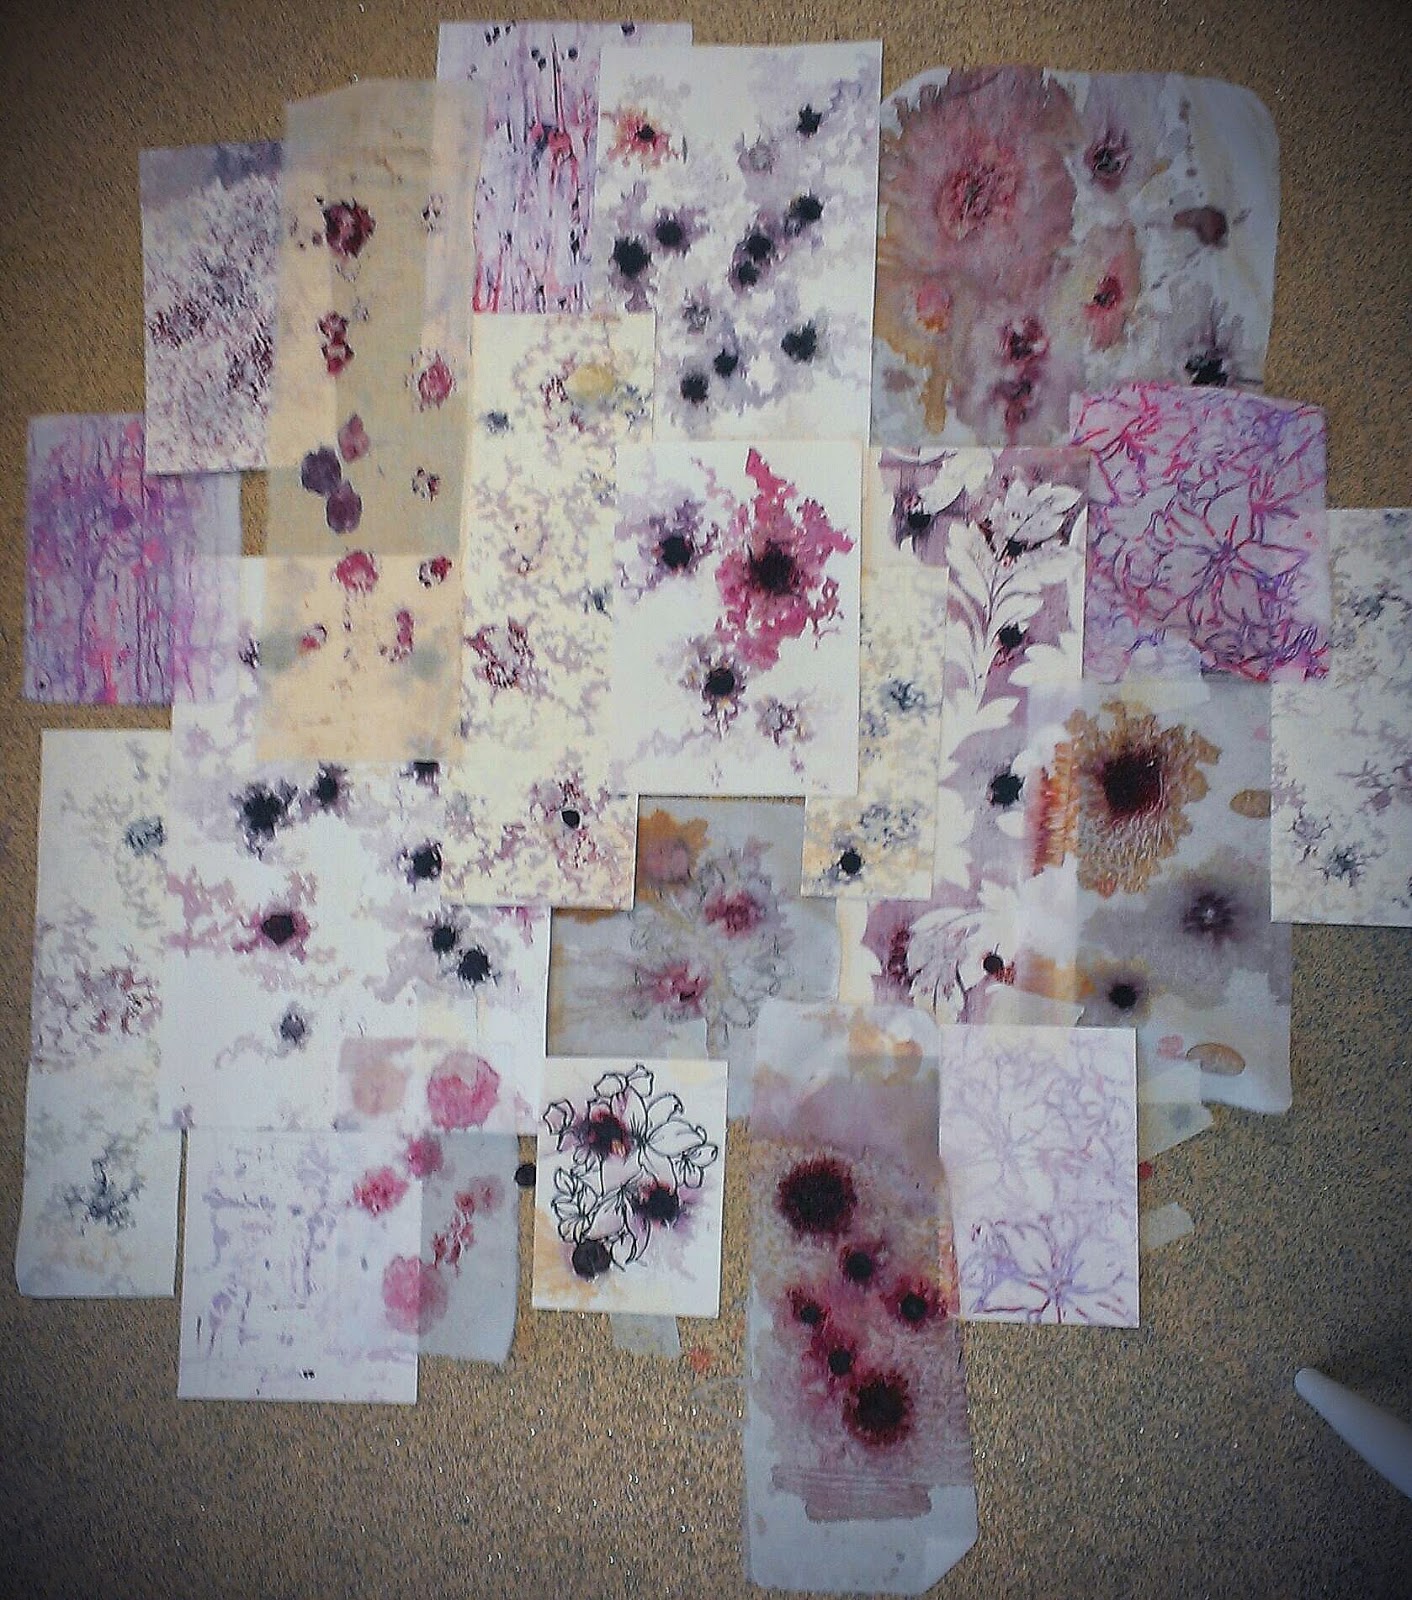
I have decided to add to my sampling to create the back drop for my boards. Using grease proof paper as a subtle material to print onto,  I have used this because of how my prints sit on the material. It is light and effective, creating a soft back drop for the rest of my samples. To create this effect I had to layout my berries onto the  grease proof paper and then add another layer on top. I then pressed it under the heat press for about 40 seconds, this is because if the berries are left under the heat press to long they begin to burn. After completing these final few samples, I decided to lay all the grease proof samples that I have out, and choose the best ones to use as my back drop. I have also started to see how they would look by hanging them up on the boards in the studio.

Final Print


30/4/2014
 
 
Today I have decided on my finial print, I have choose this print because I think that it shows the most development throughout my project from start to end. It shows the growth of the berries from the leaves into the berries. The hint of green added into the pink also brings the feel of the leaves. The colour scheme that it presents links in with my whole project and would also look well put with all my sample as a collection. I have used Magic Textiles as my producer for my print on fabric as they are very reliable and reasonable priced. I did not want to have to blind order my print onto fabric encase of the risk of it not arriving on time. This fabric will now be made in a cushion and lampshade for my show display.
 

First day back


28/4/2014
 
After returning back from my Easter break, I am in the last four weeks of my FMP. Within these last few weeks I will be tying up all my sampling, final show designs and sketchbook work. My first day back at college I have been evaluating and developing my digital prints. I have created more digital prints, overall I think that these prints show more development within my project. From the methods I have used to the colour and imagery created from the Kaleido Lens.


Thursday, 8 May 2014

Floral Samples

 10/4/2014
 
I have chose to develop a sample from my earlier part of my project. This sample was involving my floral visual studies design and also berries. Developing them onto a larger scale so that they can be hung onto my display boards. This method was not successful as the stencil was tearing as I removed it from the material this meant that I was unable to use the stencil again. I also had to experiment with different colours as I the colour I originally used was not available, when experimenting with different colours this was not successful as they were too bold and did not compliment my other samples, as I see them all as a collection of work rather than individual pieces. I am going to develop this further and use the correct amount of stencils needed for each piece of fabric and use my original colour for my stencil outline. Although I have a successful outcome, on the opposite side of the paper the stencil has left a outline of the stencil with the berries print covering it. This has been successful and I will be developing these further but cutting them up and embroidering into them so that I can hang then from my boards. 


Hanging Embroidery

9/4/2014
 
 
I wanted to create a 3d affect to my embroidery samples. From my unsuccessful samples I have reused the centre of the berry press to create a floral imagery. I have chose to improved a handful of my samples as I think that they are either too plain or do not resemble challenging techniques enough. This hand embroidery technique has been very successful, reviving my sample and making it more effect. When creating this sample I used thread to hang my prints from, I decided to use a soft lilac colour thread because I felt that this would blend in well with the busy prints sat behind the hangings. If I was to develop this sample further I would maybe experiment with using different materials to hang my print from such as different colour cotton, heavier and different thread such a wool. This would add texture towards my embroidery hanging. Comparing this sample with my other successful samples I think that has a whole collection that they will fit well together representing different techniques within embroidery and print.


Monday, 7 April 2014

Digital Print Development

7/4/2014
 
 
Developing my prints into Photoshop means that I am able to see them in a more industry ready form, and how I want them to look when printed onto fabric. I have started to develop some of my prints into Photoshop, using different filters and techniques to improve them. I have used the mirror image technique to create a repeat pattern, some have been more successful than others, because of the placing of the prints. For exampling the prints on the sheer fabric look better as a sample print rather than making it a digital print because of the placement of the berries. I am going to keep developing my prints into Photoshop, so I can find the right outcome I want for my fabric pattern.


Thursday, 3 April 2014

Sketchbook

3/4/2014
 
Today I have been working on my sketchbook. Annotating research and samples, overall this has been successful and I am pleased with layout of the pages I have created. Throughout my sketchbook I hope to keep a flowing theme on going to my project. I am succeeding this by using similar colours and layouts throughout the pages. I think that this gives it a good structure and base for my project.

Wednesday, 2 April 2014

One to One

2/4/2014
 
After having a few unsuccessful outcomes with my sampling, I had a one to one with my tutor.
I felt that this was a huge benefit as we spoke about changing my outcome that will be more successful and work better with all the sampling I have already completed. We also spoke about the set design of my exhibition, I sketched a few ideas out of how I want my exhibition to like, I have also researched previous interior exhibition spaces from pinterest. This was a benefit to me because it made me visualise my work and what my final outcome will like, making carrying on with sampling and my final outcome more realistic and successful.


Sample development

2/4/2014
 
Looking at my current samples  have turned out, I have not been happy with the end result. today I tried another technique of putting my stencil onto a larger scale printed wallpaper, with less berries added.  Although again this was unsuccessful because the stencil was still to thick and I was unable to peel all of there stencil off because It had stuck to the paper. I also didn't like how putting the paper back under the heat press made it to flat, but also made the berries turn a soft brown because they had been burnt with the heat.


Embroidery

27/3/2014
 
 Adding embroidery into my samples to create a texture and depth. Developing from my stencil prints, I have then attempted to embroider into them. This was not as successful as I wanted it to be, as the paper was ripping and making my sample look untidy. Although I found that it was the thread that was too thick causing the paper to rip. I then sourced the same coloured thread but thinner, this made it easier to embroider with. I also found that adding material to the back of the paper made it more steady to embroider around the stencil. Although still I thought that this was too messy and wouldn't work on a large scale. I also think that the outline left of the stencil made it look to busy.

Stencil Development


26/3/2014

I have begun to develop my samples further by experimenting different ways on how to incorporate my visual study of the lily flower.  Using the two main materials that I am using within my project, I have experimented by inking up the stencil and then using heat transfer to create the stencil print onto my paper and fabric. Overall the fabric was more successful because of the subtleness, adding the stencil onto the wallpaper, also adding the berries made it look to busy and complicated to look at. I felt that all together it was taking away from the effect of the berries. I am going to be developing these samples further by adding embroidery into to them.


Colour Testing

24/3/2014
 
 
After completing my stencil design, I wanting to develop and experiment with the colours of the dyes. I selected a handful of colours, royal blue, hot pink, purple and black. I choose these colours because I thought that they are still within my colour pallet but bringing the blue into it might bring another feel to my work. Overall I from the block colours I thought that the hot pink and purple were the most complimentary towards my work and colour theme. Although I did not want to create the block background colour onto my prints. I then printed with the left over dye on the stencil without a background colour. I thought that these samples were the most successful because it gave me a clear stencil of where to embroider and did not add anymore ink that I wanted too. I am now going to develop these further by using the hot pink and purple dyes to add my stencil onto my materials that I will be using within my project.


Tuesday, 1 April 2014

The stitch show


22/3/2014

 
I have added to my primary research to expand my knowledge on the fabrics and other materials I am able to source to experiment with. I attended the Stitch Show on Saturday, this was inspiring to see all the different materials available, I was also able to get inspiration from the prints of fabric that are on trend at the moment, from soft pastels to bold graphical prints. From my trip here I purchased some Spectrum Noir Craft Pens, to develop my visual studies further by introducing different materials.


Flower Stencil


19/3/2014 

I have developed my visual studies of the lily flower further, by creating a more printable stencil. This has been very successful. I think that adding the two types of lily flowers within the print has made it more interesting to look at. I am going to develop this stencil further by experimenting with colours and other papers to see which are most combat able.


Wednesday, 26 March 2014

Cotton Thread

18/3/2014
 
Today I have sourced my cotton thread for the embroidery part of my project.
I purchased my thread from a Newcastle flee market, I made the decision to use a deep purple, soft lilac and a salmon pink. All of these colours complement my colour scheme that I am using throughout my sampling.
 

Fabric


17/3/2014

Today I have developed my fabric samples. Overall I felt that I did not have enough samples using fabric, from this I collected a range of fabric from calico to a soft silk. I think that the silk fabric has been more successful because of the colouring from the berries, has ran better through the fabric rather than just leaving a large smudge of colour. If I was to develop my fabric samples further i would use embroidery and add different types of berries on to the fabric. 
 

Embroidery Samples


15/3/2014

I have developed my print samples further by using embroidery to create a more textured surface. Overall I think they have been successful, but I think that they more eye catching with a subtle amount of embroidery rather than the whole of the flower been embroidered around. As I think it can become messy and can take the richness away from the prints, rather than having a balance between the both of them. If I was to develop the embroidery samples further I would layer bits from each sample to create even more texture and surface.
 

Tuesday, 18 March 2014

Large Scale & Wax Samples

13/3/2014


From my successful samples on Monday I have developed them further by enlarging the scale. I have then added wax to create a texture and depth to my samples. Although I do not think that the wax has been as successful because of the equipment I used to apply the wax. If I was to develop the idea of using wax further into my samples I would use a pipette to apply the wax onto my samples as I think it would create a more simple line, rather than a splash of wax. Enlarging my samples has  given me a view of what my print would look like on a larger scale, overall I am please with the out come and think that my print would be more effective on a large scale for my finial outcome.


Thursday, 13 March 2014

Samples

10/3/2014

Today I begun sampling, over the weekend I collected a different range of wallpaper samples and other different papers. I then used Berries to create my prints by using the heat press. I found that tracing paper and other thin paper were the least successful samples. This was because of the juices from the berries, meant that the paper would rip. My most successful samples were the wallpaper samples because they were a lot thicker. I found that the most successful paper was the textured wallpaper which when heat pressed made the berries embossed into the paper, from this I liked the textured surface it created and how the berries mould around the embossed textures within the wallpaper. Over the next couple of days I will be developing this technique further by creating them on a larger scale and adding wax to create a more raised surface and also adding another texture on the wallpaper.


Thursday, 6 March 2014

Visual Studies

6/3/2014

Today I have completed visual studies involving my research from the church. I have created drawings on a small scale using ink and working onto of other materials rather than just paper. Some of my drawings have not been as successful. I think that the most successful ones have been creating mark making from my research from the church outside architecture. I am going to develop these drawings onto a larger scale and use the heat press to progress them further.


Wednesday, 5 March 2014

Flowers and Religion

5/3/2014

Today I have been researching the meanings behind flowers that also have a religious link.
 
Although there is not a religious flower within every religion they are used in various other religious ritual performances such as weddings and also funerals. From my visit to the church they had the lily flower on show that represents Christianity and is associated with the Virgin Mary. There is also various other religions that use flowers within there religions. Hindus are infatuated with flowers, using them within worship and in portrayals of the divine, the lotus is there religious flower representing eternity, purity and is used as a symbol of life. Within my sampling I am going to create visual outcomes experimenting with different materials and techniques of religious flowers.

Monday, 3 March 2014

Church Visit

27/2/2014

While visiting the church for the first time I gained inspiration and research from the outside architecture of the church . I felt that this linked in better with my theme finding inspiration from the aged and bruised bricks that holds the building together. Although there were many beautiful decretive points within the church, my most likeable feature was the tiles from the rustic colours to the decorative interior patterns. I also like the tradition and historical point that they bring through to the church. The flowers within the church were also a strong vocal point for my research as I hope to include floral prints within my sampling. On my second visit to the church I hope to get primary visual recordings from the flowers.


'House of God' show and exhibition discussion .

3/3/2014
 
Today within the group we have had a discussion about the 'House of god' fashion show and exhibition. Thoughts and ideas have been put across to everyone to begin the planning of the show from agreeing on the set design, dates and times of rehearsals, model styling, tickets, marketing and promotion. Students have also volunteered to apply other skills they have to take up roles within making the show a success on the night, such as refreshment teams and greetings teams. We have also made the decision of what charities we will be  raising money from the event.


This is an image of the Action plan we created showing the layout of the church.